
Search Our Archives or Request a Review
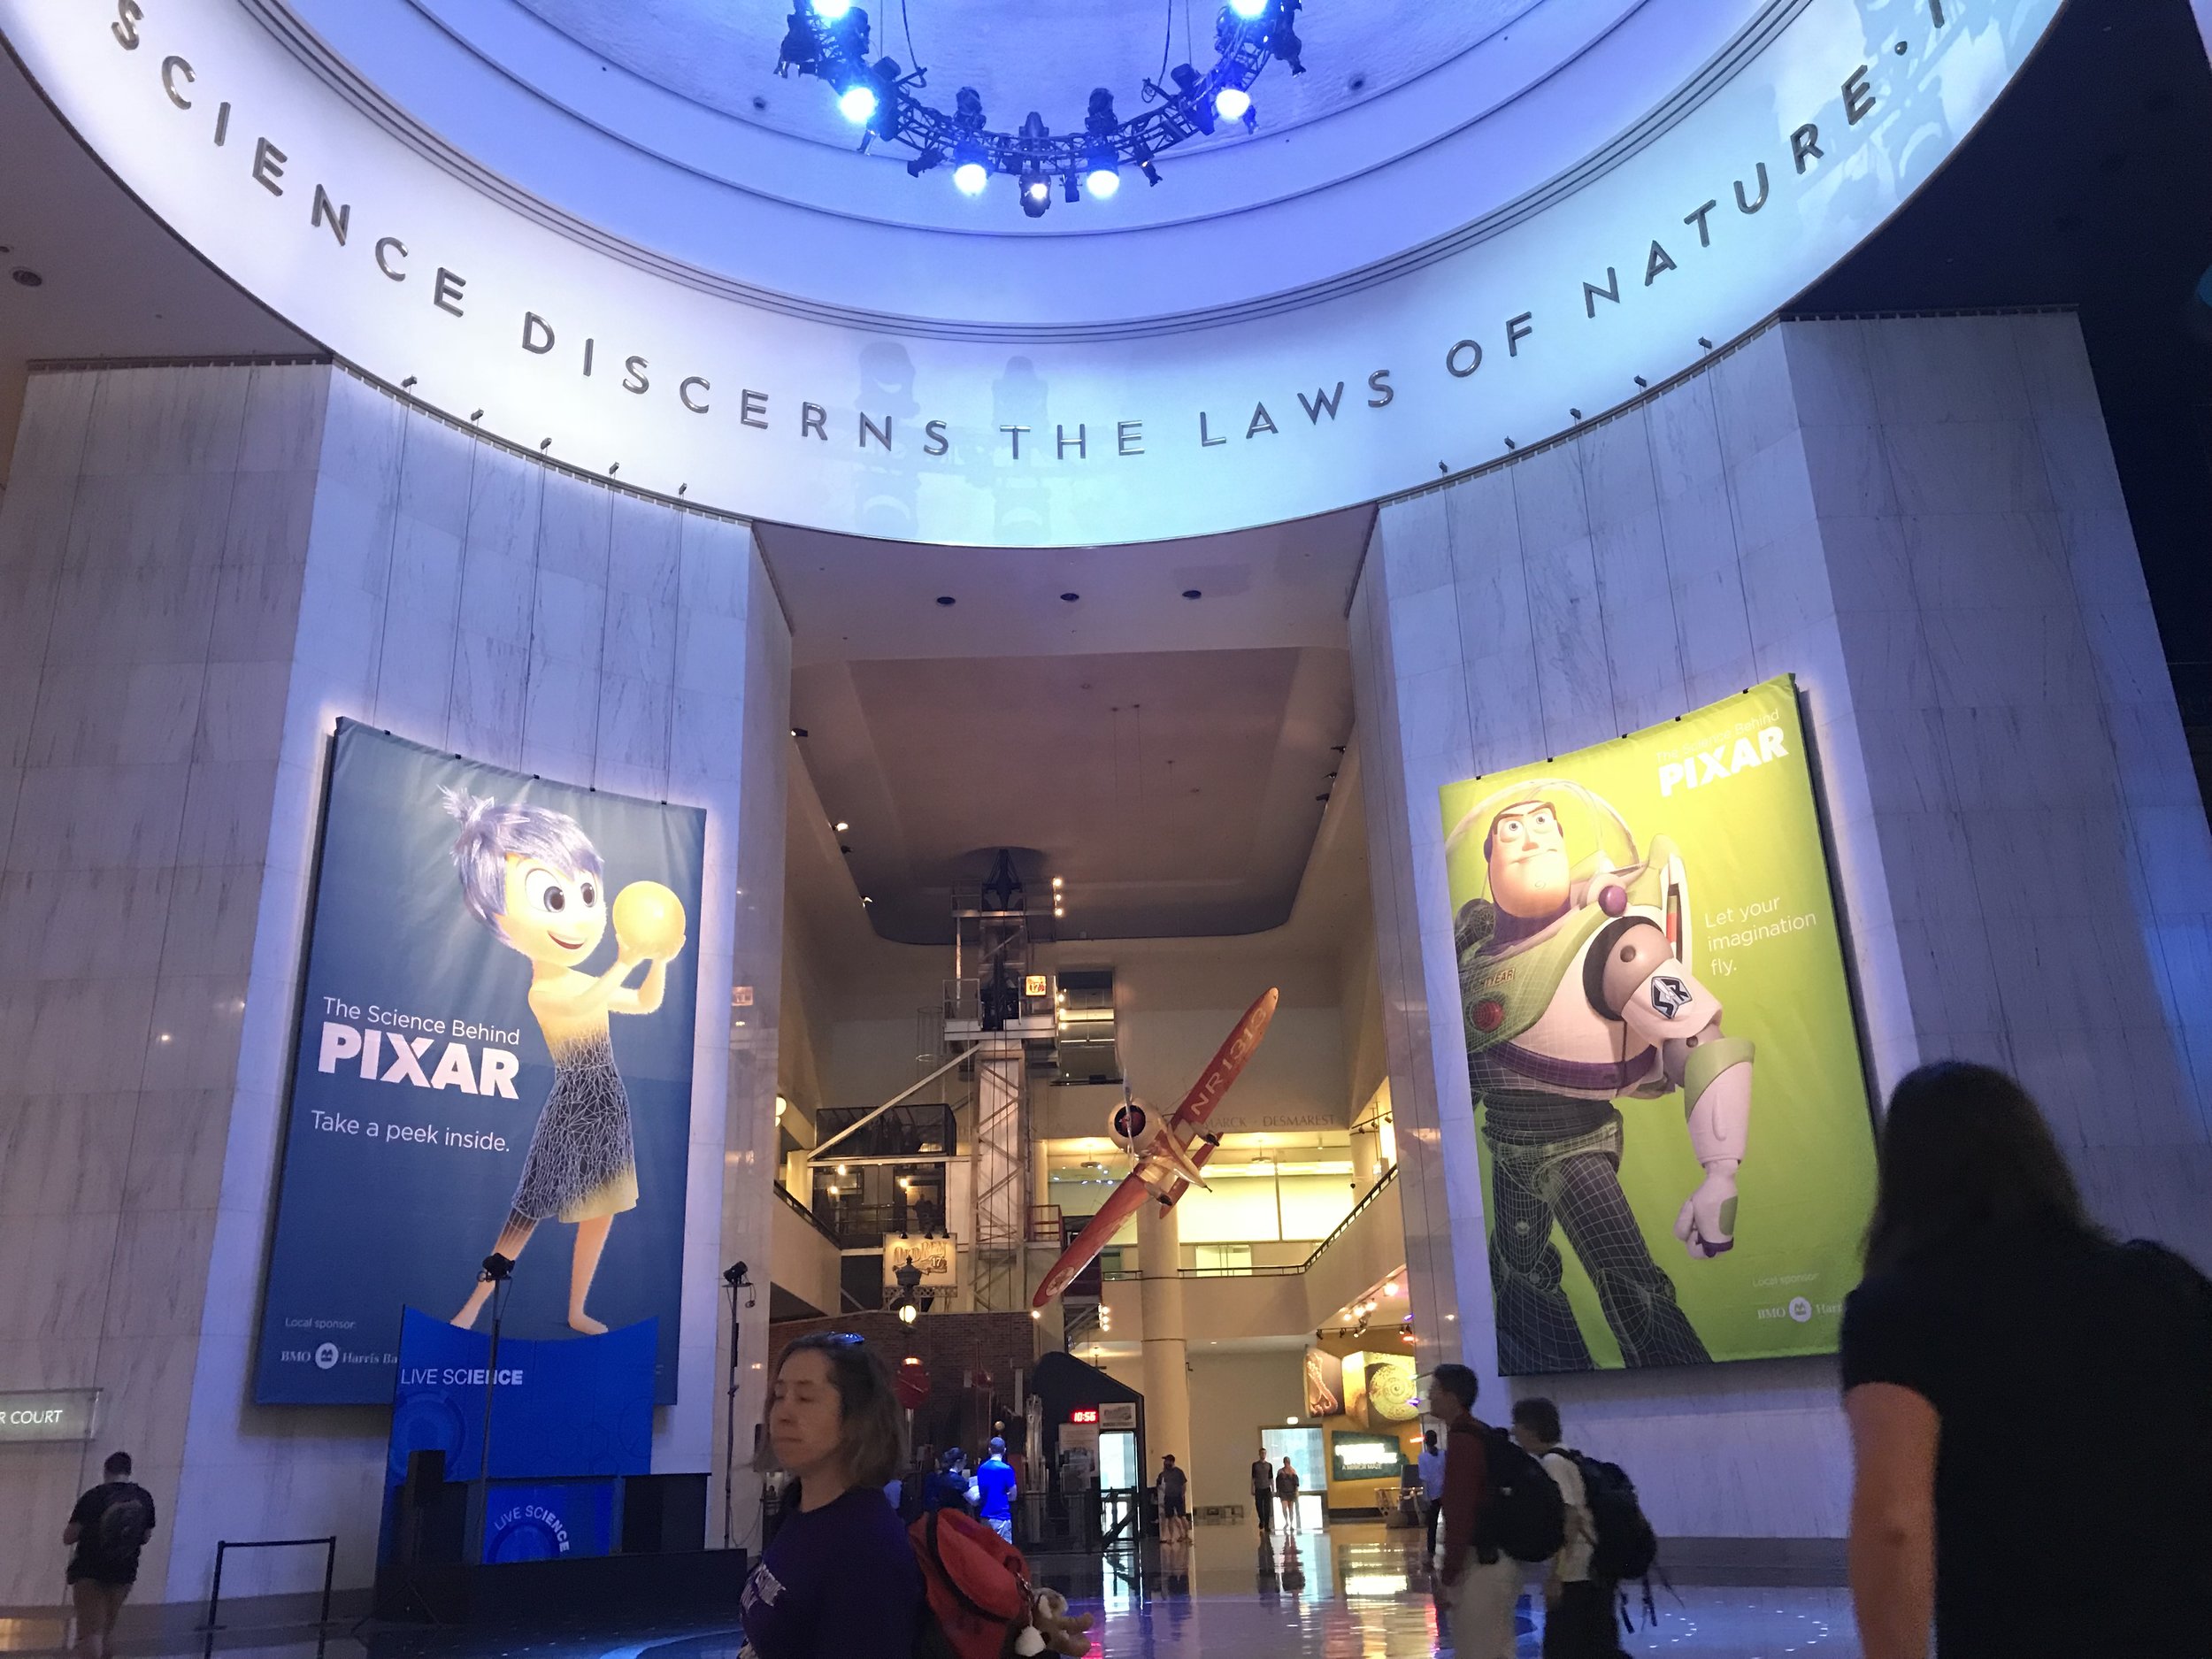
I recently had the opportunity to go to Chicago for the premiere of Film Vault’s Anderson Cowan’s first feature length film, Groupers, a movie that is hoping to make the rounds at festivals this next year (and as such, I am unable to post a review anytime soon). While in Chicago, a few friends and myself decided to check out the Museum of Science and Industry, specifically for the Science Behind Pixar Exhibit. I’d been to the museum long ago, but I’d forgotten most of what lay within those capacious halls. As far as a museum goes, The Museum of Science and Industry is amazing, especially for children. It’s filled with huge, eye-catching exhibits, many of which are interactive. They have an enormous weather exhibit where you can see the effects of climate change, mess around with a three-story mist-tornado, create an avalanche, watch lightening form, and so much more. There’s also an exhibit with U-505, a German submarine from WW2 that is preserved in its entirety down in the depths of the museum. Through the halls are exhibits on genetics, and forthcoming scientific inventions. There is a gigantic, sprawling train set modeled to look like Chicago, a free mirror maze, an egg hatchery, and a thousand other things that will make you stop and stare. If you haven’t visited the Museum of Science and Industry, I highly suggest it, particularly if you have children ages five to fifteen; it’s a great way to spend four or five hours, maybe more if you stopped at every display.

Our group spent nigh four hours in the Museum proper before heading in to Pixar’s Exhibit, which was an additional charge ($14 extra for Adults and Seniors, Children 3-11 were $11 extra). Though the additional cost is a little steep, I’d argue the experience is worth the price of admission, especially for children with a proclivity for film or animation. Years ago, the Museum had another exhibit dealing with film production, and I still remember going to that exhibit very well. In fact, here’s the short trailer we helped create while at this exhibit, starring my younger brother and sister as the leads, my grandmother as a trench coat wearing villain, my mom as a startled waitress ‘jumping’ out of the way of a car, and myself as a glasses-wearing henchman... I don't know when or where else I'd ever have any context at all to share this video, so here you go. Watch at your own risk; it's not great, but man, this takes me way back…
I’d argue the memories we made that day, and the video above alone were worth the price of admission, and while this Pixar exhibit doesn’t give you a video to take home, it gives you an experience that could inspire you or your child into creating art (and of course there's a gift shop at the end if you really want a memento). A dozen times or so, I heard children exclaim how cool they thought something was, and at least three times I heard kids say they wanted to work at Pixar when they grew up. But for me, a cinephile, the most joy came from seeing how much work and love really went in to every single frame in every single Pixar film.

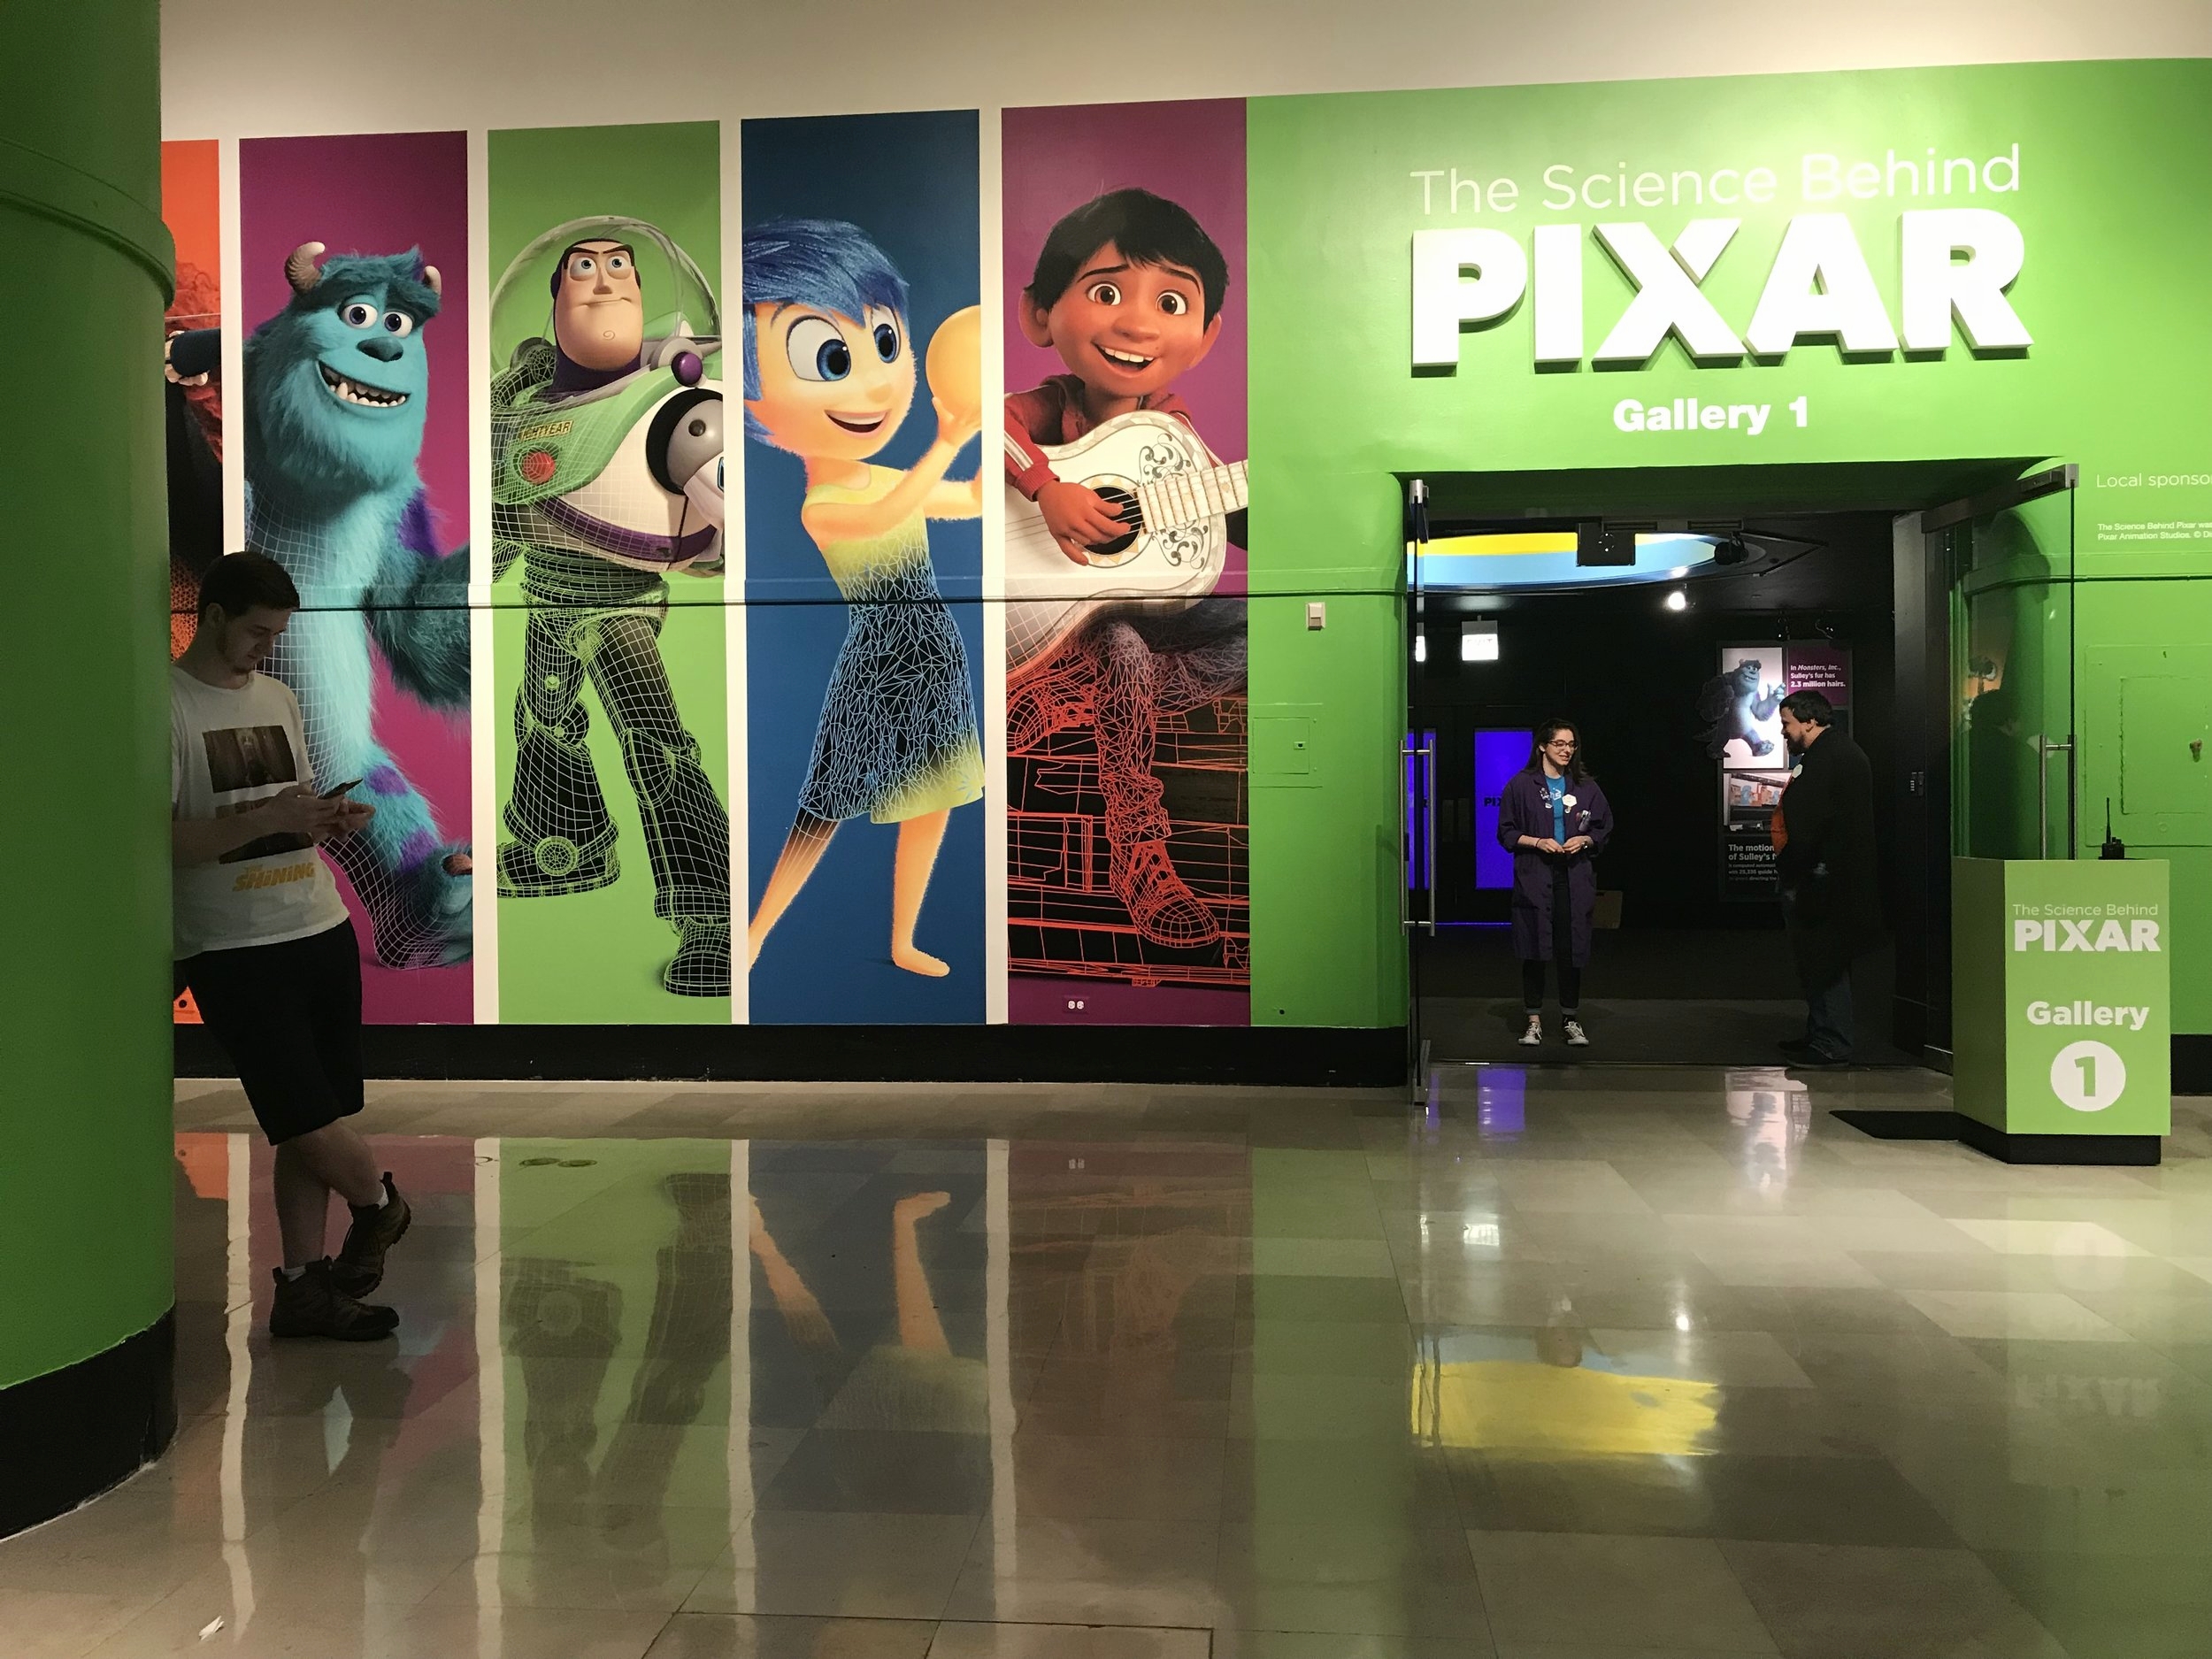
The Pixar exhibit opens with a five-minute introduction video that sort of spells out Pixar’s ‘pipeline,’ (see image on the left) the term they use for their workflow. The intro is quick and lighthearted, but it gives a general overview on the whole process of going from story concept to the final edit of a film. The exhibit itself is large enough that it’s broken into two separate galleries, and it contains hundreds of pictures and sculptures of your favorite characters, including designs before they were finished. As you can see in the picture to the left, the steps aren’t quite linear, but the process starts with story and art before moving on to modeling the characters, then rigging (giving the characters points of articulation), surfaces (creating textures and making them feel real to the world of the film), sets and camera positioning, the actual animation, simulation (implementing programs to simulate certain textures more realistically), lighting, and finally, rendering the finished product. There are interactive gizmos and gadgets throughout this exhibit that will be fun for kids and adults alike, and they cover every step of this pipeline.
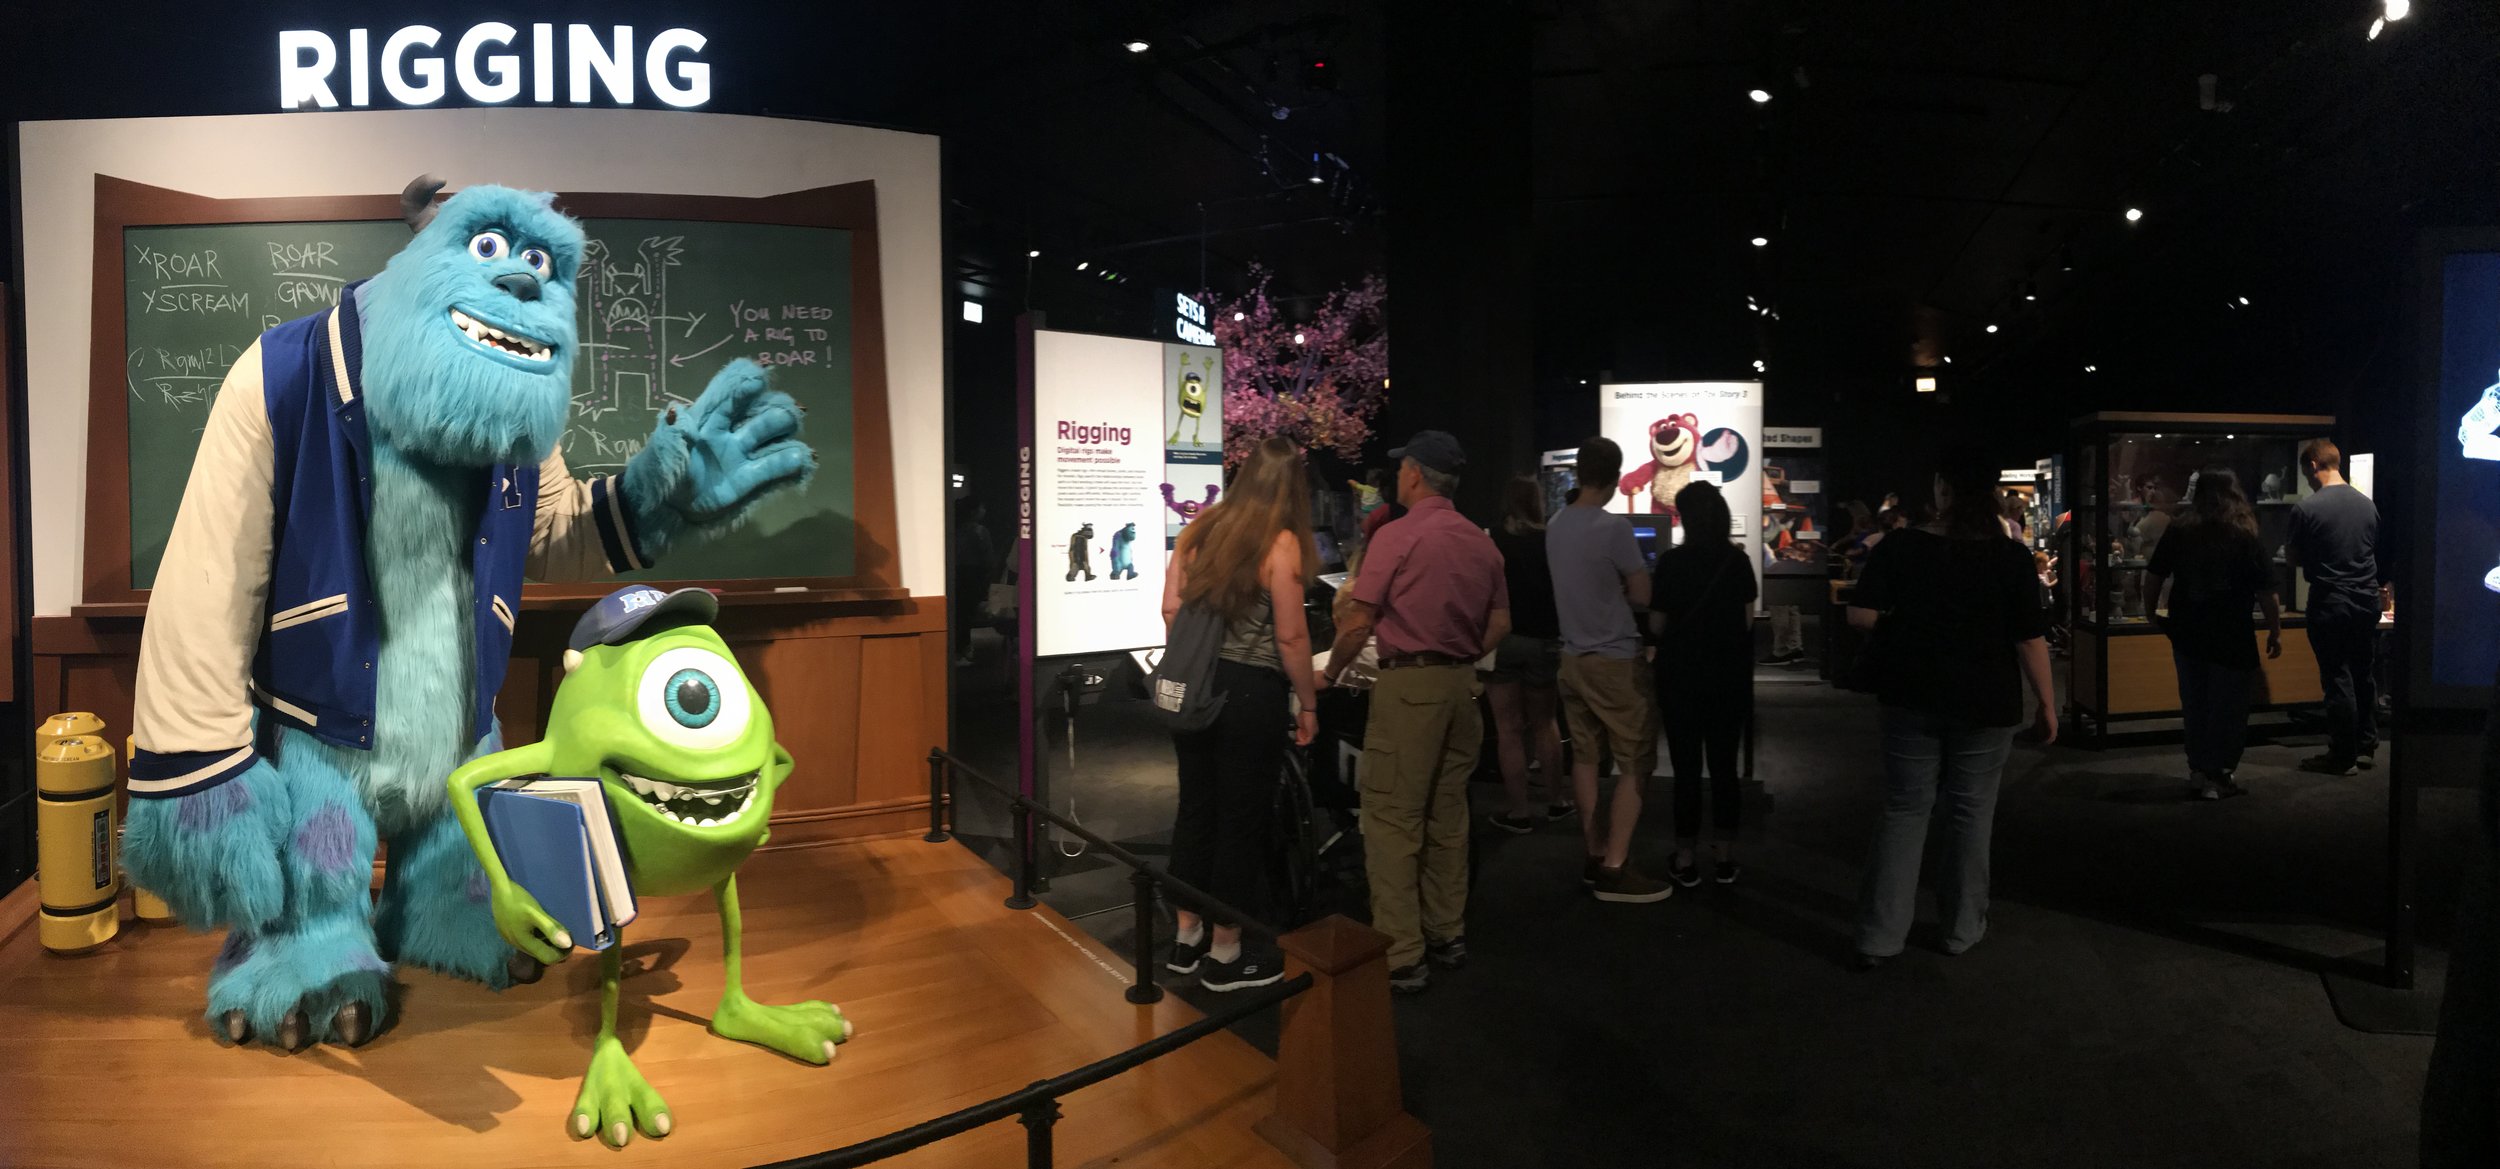
One of the coolest parts for me personally seeing how much work really went into the rigging. The exhibit likens animation to a kind of super-marionette, and it demonstrates how each part of the body is made to move in certain ways. At the beginning of this demonstration, they show Mike Wazowski, the loveable one-eyed green guy from “Monsters Inc” (see picture to the left), and how, on a normal marionette, the puppet would have four strings attached. Then the video went on to show how many points of articulation they have on the final animated product, and the equivalent amount of strings it would take to move Mike in the way they need him to move for the film. The points of articulation on Mike's body number over 2,000- meaning if they wanted a puppet to move with the fluidity of an animated Mike, they’d need over 2,000 strings.

Another thing that was super cool to see was the simulation programs they used to speed up the process of animation. Particularly, I found the work on Brave fascinating because of their textured simulation programs- programs that worked to create river-rapids texture, or that made hair and clothing move in realistic ways. Brave was always a film I felt rather tepid about, but after seeing the work that went into it made me want to go back and re-watch it, if only to appreciate the stunning visuals. Another simulation program that blew me away was Sully’s fur simulator from Monsters Inc; the exhibit stated that there were more than a million hairs on Sully’s body, but the animators didn’t need to spend the time animating every one simply because of a simulation they invented for that film.

The interactive sets and lighting area was a really interesting experience too. They had a model display of the living room from the house in Up, and in that living room set you could mess with practical lighting, overhead lighting, and the position and color of the sun. It gives you a chance to see how different lighting affects mood in cinema. They also have videos that talk about how many lights they need to set up in a single shot; for one shot in particular from Ratatouille used over two hundred and twenty lights just for one shot. I couldn’t imagine having two hundred plus lights on a film set.
There are lots of other interactive things to spend your time on as well. You can stop-motion animate the Pixar lamp, mess around with character expressions using sliders, decide camera positions on an A Bug’s Life set, look at the sketches and drawings that came long before the final films, and so much more (I’m sure I’m forgetting a lot).
The exhibit is something I believe kids and adults of all ages could really enjoy; it gives you a better idea of how much work goes into making so many nigh flawless movies. If you’re headed down to Chicago soon and plan on checking out the Museum of Science and Industry, spend the extra few dollars to get into this exhibit, especially if you or your children are movie fanatics. It’s a fun and educational trip through an amazing animated world; one that I’m sure will stick with me for a while.
Have you visited The Science Behind Pixar Exhibit? What were your favorite parts? If you haven’t been, do you think this is something you’d want to check out?